Create a Project
Projects are used to organize your application's development objects. They are the starting point fort application development, and are used to create new main development objects.
To create a new project:
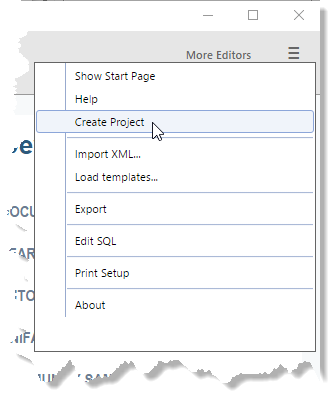
- Choose in the Uniface IDE header.

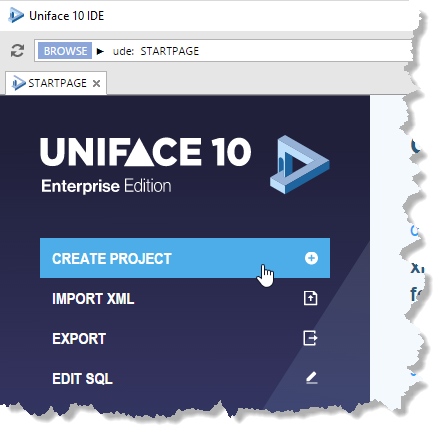
Alternatively, you can click the link on the Start Page.

The new project called MYPROJECT is opened in its own Project Editor.
- Rename the project. Click the name of the object in the Project
Structure Editor or Properties Inspector, then type the new name, and press Enter. Alternatively, right-click the object in the
Project Structure Editor and select Rename.
The project is automatically saved under its new name.
Note: Uniface is case-insensitive so you should not rely on differences in letter case when creating unique names. Uniface maps object names to uppercase. For more information, see Naming Rules for Uniface Development Objects.
To add a new sub-project:
- In the Templates tab of the Resource Browser, select the Project template.
- Drag and drop the template into the Structure Editor in the middle of the Project Editor. Alternatively, you can right-click, and choose Insert into Structure.
- Rename the project.
Note: The new sub-project exists as a project in its own right and can subsequently be added to other projects.
To add an existing project as a sub-project:
- Click the Objects tab in the Resource Browser.
- In the tab's U-Bar, click the arrow and select
prj.The Objects tab now shows all available projects.
- Select the one that you want to add to the current project.
You can now create new main development objects, and add existing ones to the project. For more information, see Create a New Development Object and Create and Add Objects to a Project.
